Note: While the images in this blog post are from 2017, the content has been reviewed and updated for 2020.
As you explore Second Life you’re bound to pick up some items along the way. Okay, who am I kidding, you’re gonna have WAY more than some. You’ll find that your inventory fills up super quick, especially if you’re visiting events or freebie areas. Second Life inventory management is something that everybody can benefit from. Whether you’ve been playing a week or a decade I can help you get that inventory under control. This post teaches you how to organize your inventory easily and without spending a single cent. If you’re interested in a more in depth system check out my post Visually Organize Your Second Life Inventory With Wardrobe.
Your Concerns
I know that there is at least one of you reading this with a mental dialogue of reasons why you can’t organize your inventory. I’ve made this list just for you.
- “But Asia! I have SO many things! It’s impossible to organize this mess!”
- I promise you it’s not impossible. It’s not even hard.
- “But Asia, it’s gonna take forever!”
- If you want to do it all at once it’ll get done fast but feel very time consuming.
- If you do it little by little it gets done over time and doesn’t feel like it takes much work at all!
- “But Asiaaaaaaa! I’m afraid I’ll stop halfway through and everything will be so confusing!”
- Actually if you organize your inventory the way I do it is not confusing at all. You’ll have a fresh, clean inventory AND all your old stuff will be (almost) exactly where you left it until it’s sorted.
- “But Asia I actually don’t need to organize. I can just use the search bar to find what I need.”
- That’s wonderful when you know the name of what you want. What if you’re just looking for shoes to go with your new outfit but aren’t sure what matches right? Do you know the name of every pair of shoes you have? If not you can benefit from a little organization!
The Totally Not Overwhelming Step By Step Overview
I know, I know. This has a LOT of information. You don’t have to apply every little thing, simply take these ideas and tailor your organization to your needs. Here is the basic overview with link to each section for more info.
- Start fresh.
- Create folders for your stuff.
- Sort your stuff.
- Trash or box what you don’t need.
- Enjoy the perks of having an organized inventory!
Where To Start
Most of us have extensive inventories. It’s not uncommon to have tens of thousands of items or even more. When I organized my inventory for the first time ever I found the easiest way was to give myself the illusion of starting fresh. I made a folder called “~~Old Stuff~~” (more on the special characters later) and moved my entire inventory into this folder. I literally just selected everything I could and moved it in.
For items in the unmovable default folders I made new folders with those names (.Animations, .Body Parts, .Clothing, etc.) and put them into my Old Stuff Folder. This way your inventory LOOKS fresh yet everything is still easily accessible and searchable. If you’re new to Second Life and don’t really have anything then congrats! You already have a completely fresh inventory and you are starting out on the right foot.
Creating Places For Things
Growing up my grandfather always told me, “Everything has a place and every thing in its place.” It was his way of explaining that in his house every item had a home and when the item was done being used it went back to its home. While this isn’t something I apply at my house at ALL (even though I totally should) I do apply it to my Second Life inventory. It ensures that every item can be easily found while browsing. All my things (objects, product folders, notecards, etc.) have a place: specific folders.
Now of course you need to do what works for you. This is a base and what I use. You can customize everything as needed for your own inventory.
Special Characters
You’ll notice I’ve used special characters (such as ! and ~) in some of my folder names. Second Life organizes folders alphabetically in each section. For special characters it uses the ASCII Sort Order. Placing “!” with a space after at the start of a folder ensures it stays at the top of its section. Placing “~” ensures it stays on the bottom. For the “~~Old Stuff~~” folder made earlier we want it out of sight and out of mind, so it starts with “~” to keep it at the bottom. I just put them at the end too because I think it looks nicer that way.
 Primary Folders
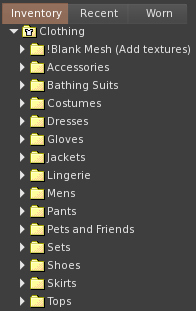
I start with the default SL folders since they’re always on top. You can’t rename them but you can make customized folders within them. You’ll likely find most of your things can find a home in some of the the broad default folders: Animations, Body Parts, Clothing, Landmarks, Notecards, and Objects. The other folders may get some use too (Some people gather lots of Textures, for example) so use them as you see fit. If I want to separate things into categories that aren’t covered by those defaults I make new folders so my things have homes. For example I like to keep all my demos and blogging things in order so I have a folder called “! Demos” as well as one called “! Blogging” just for those items.
Secondary Folders & Beyond
Many items require many folders. When you have hundreds of outfits sorting it all into a Clothing folder isn’t going to do much good. It’ll still be hard to navigate without a bit more sorting. This is where secondary folders come in. These are folders created within the primary folders. You’ll tailor these to your own needs. In my Clothing folder, for example, I have fifteen secondary folders including Tops, Pants, Skirts, Shoes, and Accessories. Make as many secondary folders (and folders within those folders) as needed. I have lots of shoes, so my folders get very specific to help me browse my items.
Don’t worry about making every folder right away. You can always make them as you need them. After I’d made my folders and continued sorting I found the Other section of my Accessories folder filled up faster than I could image. This resulted in surprise categories such as “Socks” and “Rings” which I didn’t know I had so many of!
 Sorting Stuff
Sort things as you get them. This is the most important part. You’ve made your inventory look fresh and clean so take a moment to keep it that way! Right when you unpack your new item place it in the proper folder. Too much hassle while you’re in the middle of things? Consider tidying up your new products a ritual that happens before you log out instead.
For things you already own you can sort it however is convenient for you. Some people like to set aside time to organize a bunch of things at a time and finish organizing in batches. Some people just leave everything in the old folder. I do a little hybrid of the two; I simply move things to their new homes as I use them. So if I use my old earrings I’ll sort them in the organized area when I wear them. That way I can slowly get everything caught up and I have the added bonus of easily seeing what I don’t use anymore. More on unused stuff later, though!
Here are some ideas for sorting your stuff in a way that works for you:
-
Consider renaming item folders to something more descriptive.
- If your recent outfit came in a folder named “:!:404 Designs:!: Henrietta Dress” you may have a better time naming the folder “Long Black & Red Victorian Gown” or something else descriptive.
- You can always pull it up with the name “Henrietta” in a search, but when browsing you’ll know right away that you have a black and red dress available.
- If your recent outfit came in a folder named “:!:404 Designs:!: Henrietta Dress” you may have a better time naming the folder “Long Black & Red Victorian Gown” or something else descriptive.
-
Decide if you want to keep your items in the original folders.
- You might consider splitting things up.
- I like to keep everything together so I can easily see the Landmarks or Notecards that came with my product.
- You may prefer sorting all your Landmarks to one section and all your Notecards to another regardless of what they came with.
- You might consider splitting things up.
-
Consider whether or not you want to keep sizes you don’t use.
- If you bought a dress and it comes in 8 different sizes you may only be using one.
- I keep all of the sizes just in case I get different bodies in the future.
- Many people delete the sizes they won’t use to save space and avoid clutter.
- If the object can be redelivered you can always just redeliver if you need one of the deleted sizes!
- If you bought a dress and it comes in 8 different sizes you may only be using one.
-
Contemplate organizing by designer if you own a lot of their products
- Most of my hair is by TRUTH. In the Hair folder I have “TRUTH” as a secondary folder. Within the TRUTH folder I have folders named for each hair style.
- This is a great way to organize if you are familiar with the products you have and their names.
- Most of my hair is by TRUTH. In the Hair folder I have “TRUTH” as a secondary folder. Within the TRUTH folder I have folders named for each hair style.
-
Consider organizing by style.
- I have tons of shoes by various creators. My shoes are sorted by style to make it easy to browse for a match to my outfit.
- I can navigate to Clothing>Shoes>Boots>Calf to find boots that go up to the calf. Clothing>Shoes>Heels>Open Toe brings me to open toe heels for a fancier look.
- I have tons of shoes by various creators. My shoes are sorted by style to make it easy to browse for a match to my outfit.
-
Most importantly: Do what makes sense for you.
- If you have another method of naming or sorting items go for it! Your inventory is yours, it only needs to make sense to you. Just make sure that it actually DOES make sense to you.
Trashing and Boxing
There will be some things that you just don’t need to have. These things can be moved to the trash. Trash is essentially deleting, so make sure you definitely don’t want whatever you’re getting rid of. If you accidentally trash something you don’t want to you can recover it from your Trash section in the inventory. If you delete the trash section the contents cannot be recovered. I recommend starting with your trash completely empty so if you do delete something on accident you can find it easily. When you’re sure everything in the trash isn’t needed just empty it and enjoy the lack of extra fluff in your inventory.
Have some things that you don’t really need out but don’t want to get rid of? Boxing is a wonderful alternative to trash. Boxing is basically moving your items into an object so instead of taking up many spaces in your inventory it’s all contained in one object. You can always unbox the items if you need to use anything. When you search your inventory items within the box will not show up, however the box itself will. For this reason I try to be informative with my boxes names. You might prefer naming your boxes things like “Shoes” and “Pants” or perhaps the more generic “Pre 2017” or similar. Just make sure whatever you name it makes sense to you.
How To Box Items
- Make sure you’re in an area where you can rez things. Public sandboxes are great for this.
- Rez a box
- Open the Build Tool with Ctrl+B.
- Select the Create tab (looks like a wand) and choose whatever shape you want.
- Click on the ground to rez the shape. This is your box.
- Name your box.
- In the General tab you can set a name.
- Move your stuff into the box.
- Drag and drop items from your inventory into the box. NOTE: You cannot move folders into the box, only items.
- Take the box.
- Simply right click on the box and click “Take” and it’ll go right into your inventory!
- Sort your box!
- I keep all my boxes in a folder named “~Boxed Items~” so it stays at the bottom of my inventory.
I personally box items if I haven’t touched them in a very long time. I use the sorting method where I move things to their new home after using it. This makes it easy to see which of my old products I no longer use. I can just box up whatever is left in the old folder after a few months.
Enjoy The Perks Of Organization
Congrats, you have an easy to navigate inventory! There are plenty of awesome things you can do now that may have been quite tricky with a cluttered inventory.
- It’s so easy to browse for things.
- Need a tank top to go under that jacket? Just go to your Tanks folder.
- You can see all the products you own in each category with ease saving you time and frustration.
- Finding something specific is even simpler. No more losing things!
- If you know the name of the item you can still search it. This is unchanged.
- Forgot the name? No problem! You know it’s a casual dress, so just go to your Dresses>Casual section and give a quick look to see which it is!
- Throwing together new looks is so much more fun.
- Getting dressed is way less stressful when you know exactly where to find everything.
- It feels like you have more options when you have items grouped by type. See ALL the shoes you can choose from instead of the one pair you had in mind.
Remember, no matter how you organize make sure that it’s a system that works for you. Let us know how you organize your inventory in the comments! Feel free to ask anything, too!
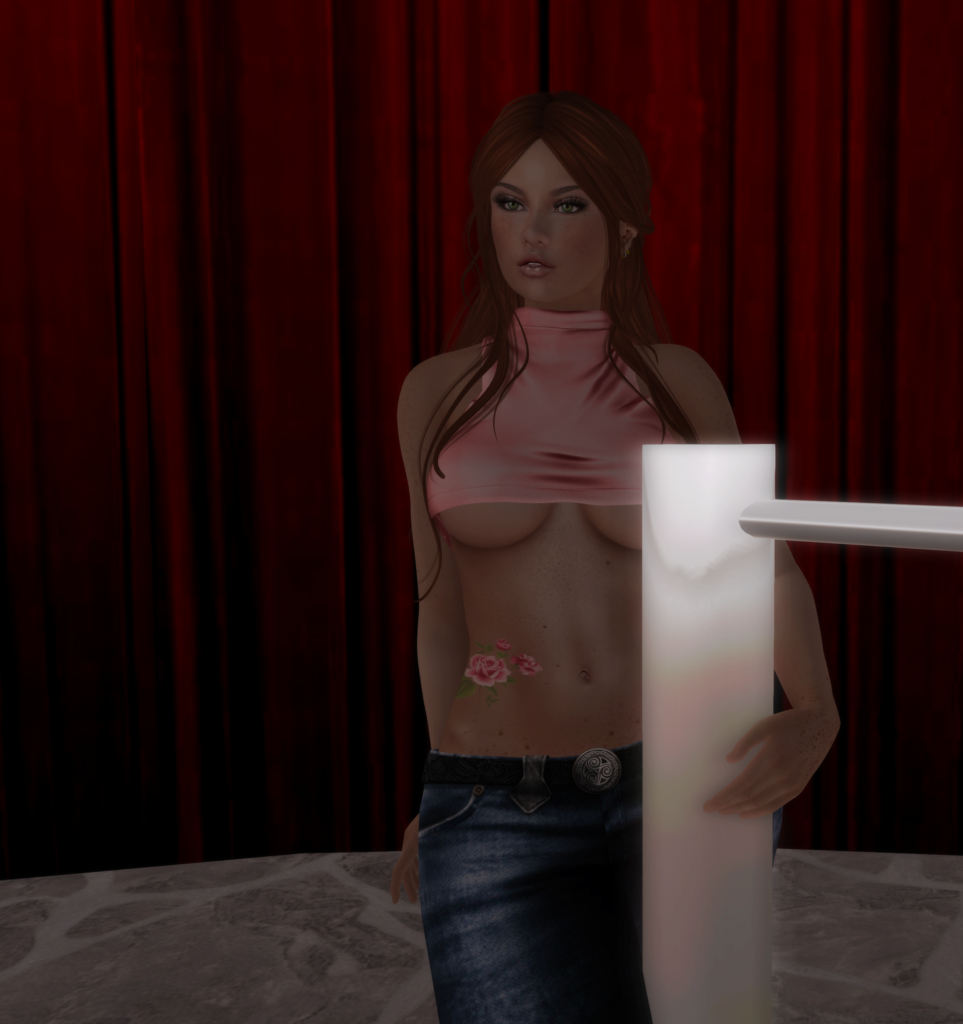
Pics & Credits
Click for full view.

Body – Maitreya: Lara
Shape – Regeneration: Trisha
Skin – 7 Deadly s{K}ins: Enya
Hair – TRUTH: AveryElena
Eyes – Catwa: Mesh Eyes
Earrings – Doe: Heartbeat Earrings
Top – Caboodle: Playful Neko Turtleneck
Jeans – MODA: Paige Jeans
Shoes – MODA: Charade Platform Boots
Pose/Location: Image Essentials



Omg thank you so much! I have almost 300k and thousands of outfits made. I realllly need to do this! Love your suggestions! Hugs
You’re very welcome!! I’m glad to help. If you have any questions don’t hesitate to ask!
Such useful suggestions! I do a lot of them, especially boxing up sets of H&G I don’t need right now. I’m a blogger, the best thing I ever did was to put all my blogging for the month into one folder, then mark it as done when it was blogged. Then move it to other folders at the end of the month. That way, everything gets sorted. I’ve been in SL for over 7 years, have modelled, blogged and made things. My Inventory is now 45K. I reckon it could be better than that if I went through the older stuff like you suggest. <3
It sounds like you’re a pro at keeping stuff sorted. I keep my blogging stuff in groups by brand/event and move them to a completed section after too. There’s just so much fun stuff that I always want to keep using.
It is exactly the way I sort my inventory and it helps me a lot to find what I’m searching for. My inventory is 180K items big. The only thing I’m not able to do is deleting something old LOL. I may need it some day.
Oh wow what a huge collection! I’m the same way with deleting old things!! I’m such a pack rat. That’s why I box haha.
I have only been in Second Life for a little over a year and can’t believe I have 9k plus items. I cringe when I look at my inventory and mutter expletives under my breath while trying to find outfits. I am just beginning my journey into blogging and knew that I had to bite the bullet to get organized now to make things easier. Asia, you are a Goddess! Thank you for giving such clear, concise ideas on organizing the dreaded inventory. I know what I will be doing today…
Thank you for the compliments! I’m so glad it’s helping you out. Items build up sooooo fast!! Since you’re a blogger you may also find it easier to have a separate “!Blogging” section too. I organize my !Blogging folder by event or sponsor if I have particular items I want to be able to quickly access.
This was very well written and informative. I’d like to add something I do. It helps those with very large inventories. It seems every clothing folder arrives with a landmark for the store. I delete the extra landmark in each clothing folder, bag holding animations, etc. I went through my inventory last year and did this for each item and ended up deleting over 200 items, just doing that. So the inventory will load a bit quicker. Thanks again
Thank you so much! That’s such a huge space saver for sure. I should go through and do that next time I sort through my inventory (it’s getting to be that time again!)
Very good advice!
For those concerned that their inventory is becoming a bit ‘obese’, I found that by deleting ‘saved outfits’ I’ll never wear again (everything’s in folders anyway – know exactly where to find them!), my inventory lost rather a great deal of dead weight and became blessedly ‘slim’ again 🙂
That’s an awesome idea!